
Badge, notes, travel and more
These screens are small, but attendees come to them with practical questions. Where is my badge? How do I book the hotel? Knowing what each screen shows helps you switch on the ones your event needs and point attendees to the right place.
Each screen below is a module of the attendee app's menu. You decide whether it appears, and where, in the App Designer's navigation. A module left in Not added is not in the menu.
My Badge
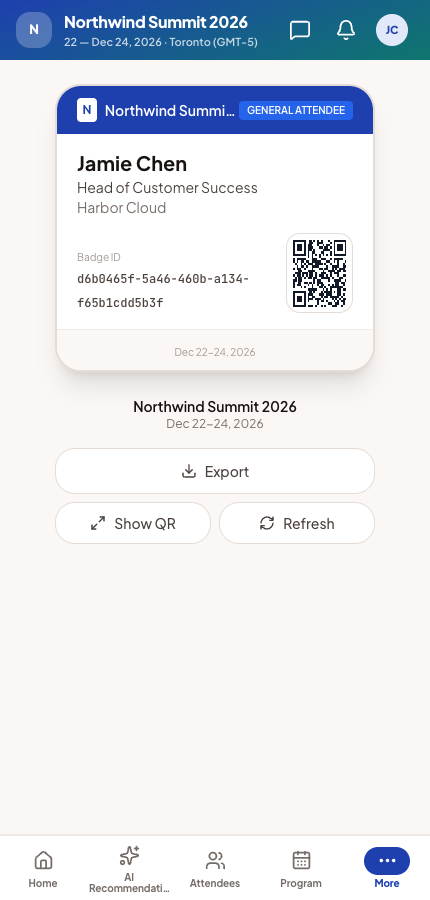
My Badge shows the attendee's check-in code once they have a place at the event. It is a QR code or a barcode, depending on your check-in setup. Tapping it enlarges it for a scanner.
Once a badge template applies to them, the full badge appears. Attendees can save it as an image or PDF, and in the phone apps add it to their wallet. The last badge loaded stays available offline.
The code on screen is the same one printed on the paper badge. If you change a code later, badges already printed stop matching.
Put the badge where attendees look
My Badge starts in Not added. Add it to the menu. The home screen can also show a My badge button, by default from the day before the event.
My Notes
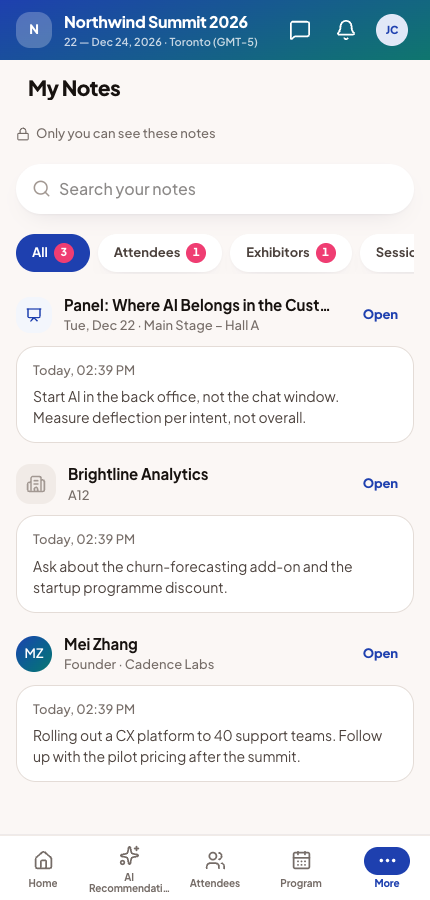
Attendees can write private notes about another attendee, an exhibitor or a session. They use Add note on that person's profile, the exhibitor's details or the session's details. A note can have formatting, links and up to 10 attached files.
My Notes gathers them all, grouped by subject, with search and filters. If a subject leaves the event, the note is kept.
Notes are private, from you too
Only the author can read a note. No organizer screen, export or report shows them. Booth leads are different: a lead's notes belong to the booth team.
Travel
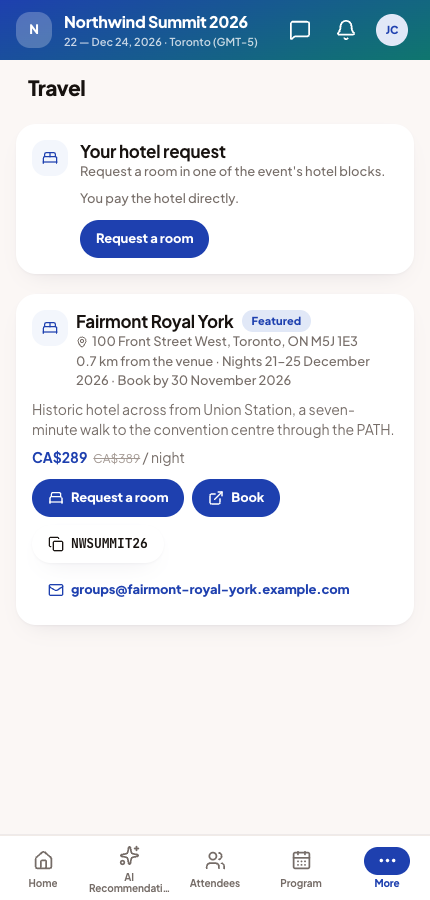
Travel lists the hotel deals open to the attendee's type, featured ones first. Each shows the rate, the saving, the distance and the nights covered. Book opens the hotel's site after asking. A discount code copies with one tap.
Travel appears in the menu by itself once the event has a deal.
Where you hold a room block, the hotel offers Request a room. The attendee picks a room type and dates. Nights that are full cannot be chosen. They pay the hotel directly.
Their request then shows as requested, then confirmed. They can change or cancel it until the hotel's change deadline. Requests can also be made on the registration form, or by a purchaser for their order.
Work Items
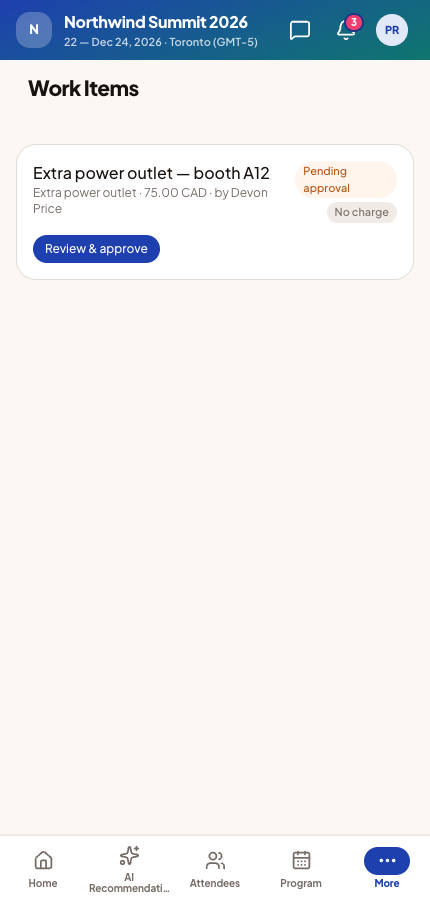
Work Items shows services a service provider has raised for the attendee, usually an exhibitor. Examples are an extra power outlet or an AV visit. Each shows the fee, status and payment.
A charged item shows Review & approve. The attendee enters billing details, then pays by card now, asks to be invoiced, or declines. Free items need no approval. Service providers use the same screen to create items and mark them delivered.
Contact organiser
Contact organiser opens a chat with your event team, wherever you place it. Your team answers in Communication → Messages in the admin app. Event admins can also answer from the attendee app.
Your custom pages
Each custom page you build in the App Designer is its own menu item. It uses the same sections as your website, including lists of sessions, speakers or sponsors that stay up to date.
Venue Map
Venue Map shows the floors you drew, with zones, what is on in each room and which exhibitor is at each booth. Attendees can search rooms, exhibitors and sessions.
An exhibitor's Visit Booth opens the map at its booth. Until you add a floor, the map says it is not available yet.
Configure these screens