
Invoices & ticketing settings
Before tickets go on sale, three things have to be right: you must be able to try the checkout without charging anyone, your invoices must carry your legal details and a numbering your accountant accepts, and the taxes on your ticket types must be defined once. This screen holds all three, together with renaming or deleting the ticketing system itself.
How it works
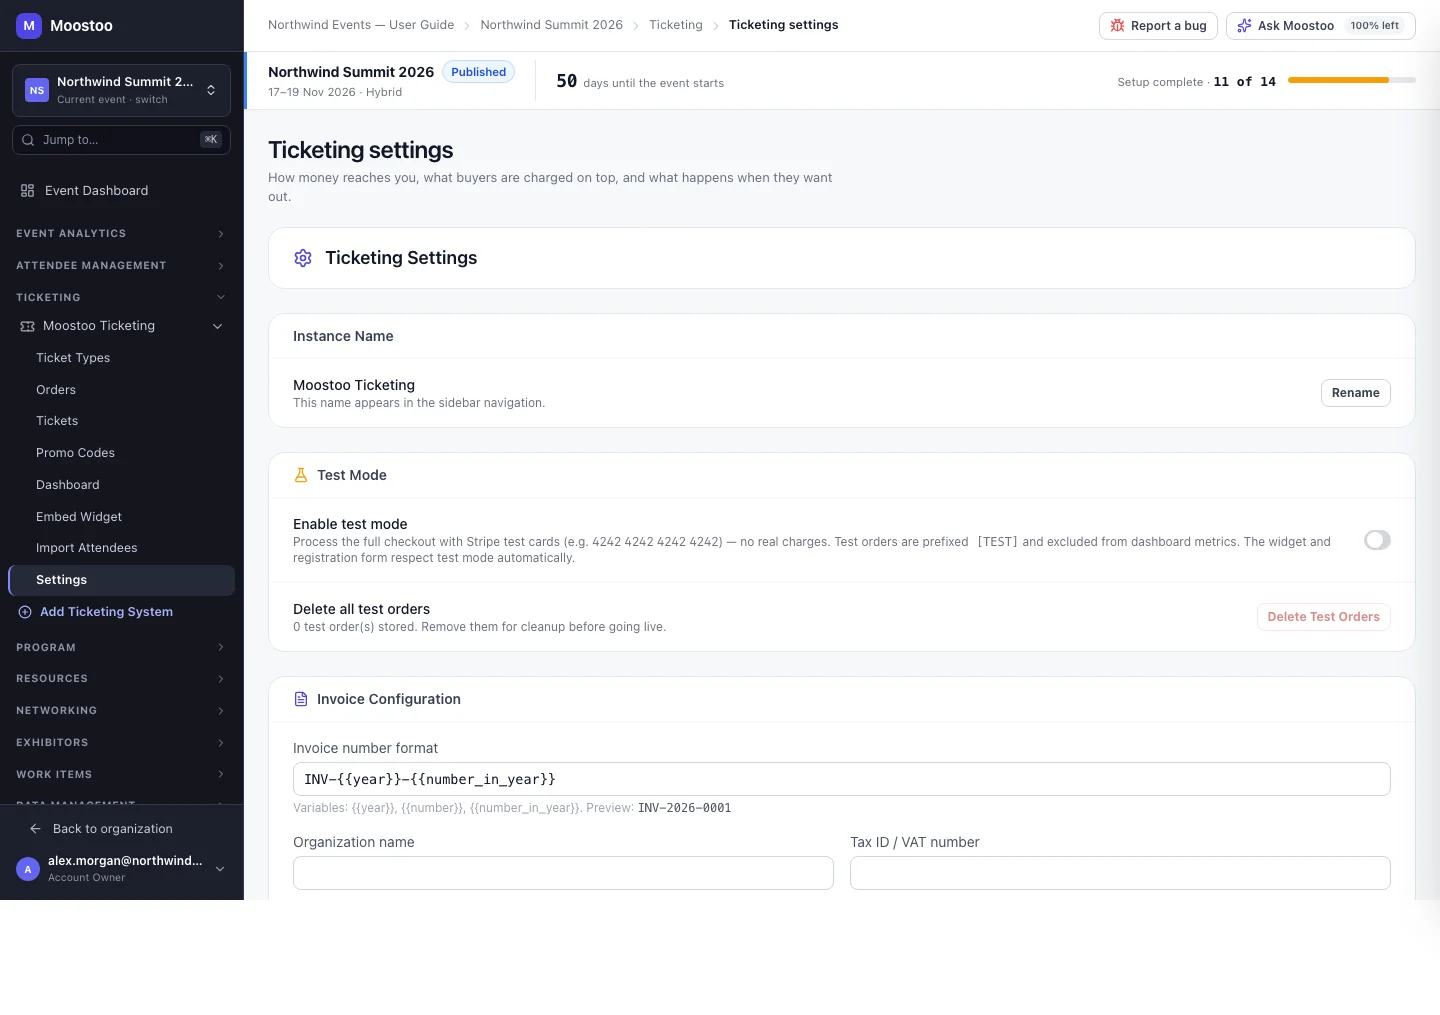
Instance Name The name of this ticketing system, as shown in the sidebar. Rename it when an event has more than one; the system's address changes with its name.
Test Mode While on, every new order is a test order: it is prefixed [TEST], kept apart on Orders and excluded from dashboard figures, and a card payment would use Stripe test cards so no real money moves. A banner across every ticketing screen reminds you test mode is on. Delete Test Orders clears them before you go live.
Invoice Configuration The invoice number format, your Organization name, Tax ID / VAT number and Organization address, and a Custom header text and Custom footer text line. These appear on every invoice this event issues.
Tax Types Named rates — VAT 20%, HST 13% — that you then pick on each ticket type.
Invoice numbering
The number format is a pattern built from {{year}}, {{number}} (a running number for the event) and {{number_in_year}} (restarting each year) — for example INV-{{year}}-{{number_in_year}}. A preview under the field shows what the next invoice will look like. Numbers are handed out in order as invoices are issued, and each is used once.
- Settings on this screen belong to one event. Cloning an event copies the invoice template (name, address, tax ID, header and footer) but not the numbering, which starts again for the new event.
- Changing the format affects invoices issued from now on; invoices already issued keep their numbers.
- For an external platform (Eventbrite, Swoogo, Tito, Lu.ma) this screen shows the Connection instead of the finance settings — see Live sync & import history.
Step by step
Open Ticketing → (your Moostoo system) → Settings.
Turn on Enable test mode and register through your form to try the whole flow. Turn it off when you are ready to sell, then Delete Test Orders.
Deleting test orders removes the orders only; anyone who registered while you tested is still on the attendee list — remove them there.
Under Invoice Configuration, set the number format and fill in your organization name, tax ID, address and any header or footer text. Click Save Invoice Settings.
Under Tax Types, click Add Tax, enter a name, rate and description, and Save.
To remove the whole ticketing system, use Delete in the Danger Zone and type delete to confirm.
This removes the system from the sidebar and cannot be undone.
What attendees see
Attendees do not see this screen. They see its results: invoices carry the details and number you set, and ticket prices include or add the taxes you defined. While test mode is on, every order placed is a test order that your reports ignore — make sure it is off before you open sales.
Tips
- Agree the invoice number format with your finance team before the first sale; it is awkward to explain a change halfway through.
- Define taxes before creating ticket types, so each type can pick its tax as it is created.
- Rename rather than delete when you only want a clearer name — deleting cannot be undone.