
Meeting room branding
Online and hybrid events spend hours of attendee attention inside 1:1 video meetings. Meeting room branding turns that time into sponsor visibility without getting in the way: a frame around the video, a sponsor's badge in a corner, and branded backgrounds attendees can choose. You can set it once for the whole event and give a sponsored meeting block — or a single exhibitor's booth — a frame of its own.
How it works
Branding is set in three places, with one rule between them: a meeting session's own frame replaces the event-wide one completely; a session with nothing set uses the event-wide layer.
| Where | Applies to |
|---|---|
| App → Meeting room (the Meeting Room Branding screen) | Every video meeting at the event that has no frame of its own. |
| The Meeting area frame of a meeting session | Meetings booked in that Networking meeting session. |
| The Meeting area frame of a booth meeting session | Meetings booked at that booth. Only you set it — booth teams see it read-only. |
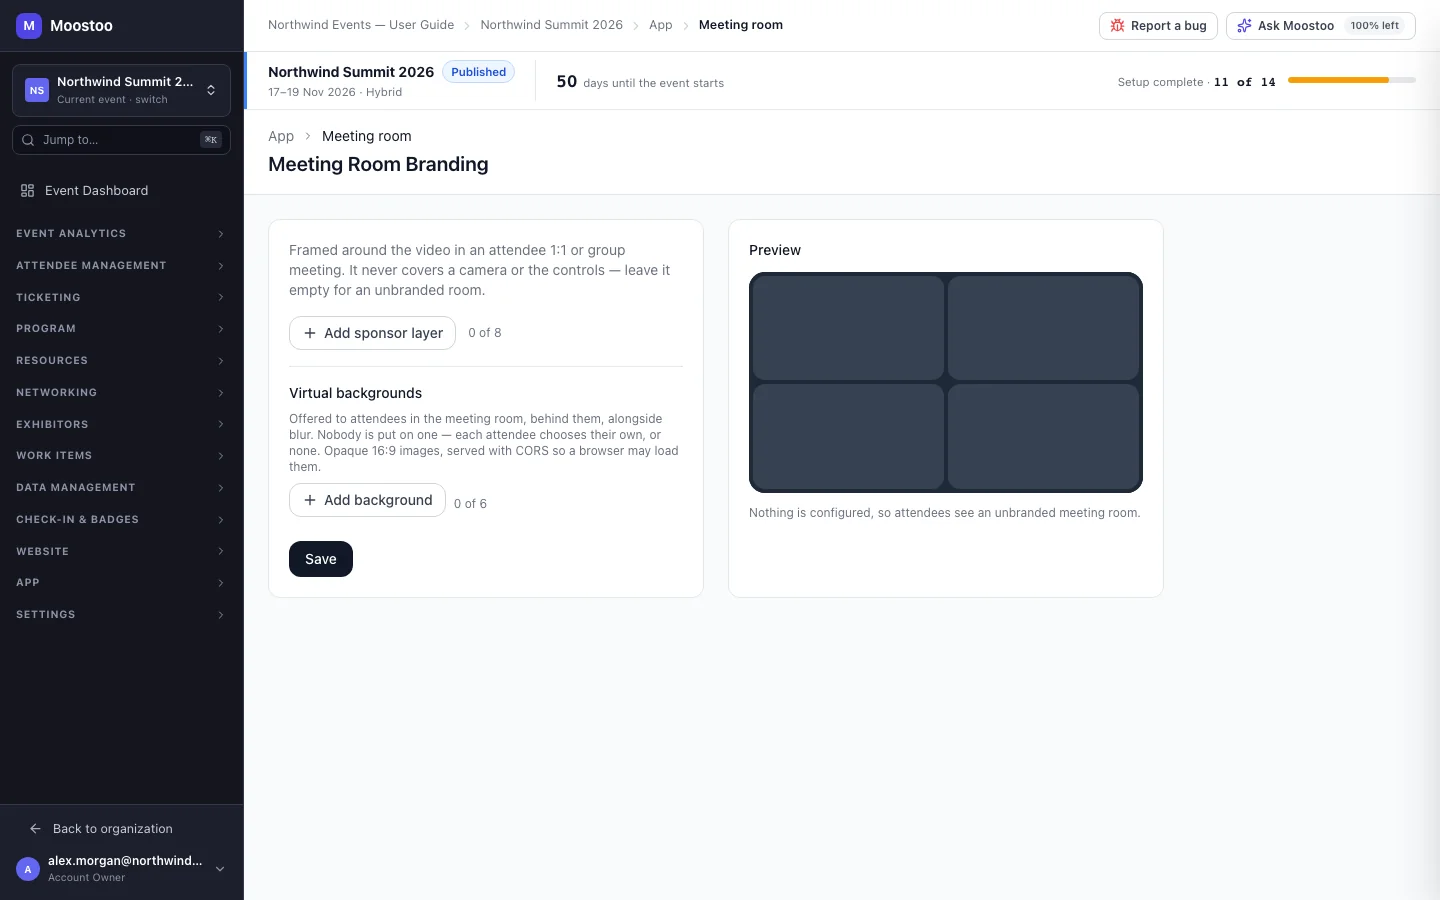
Sponsor layer One sponsor's look: a Frame image drawn around the video, a Sponsor logo, Badge text, a Badge corner and a Badge link. The frame sits behind the video — it never covers a camera or the call controls. You can add up to eight layers.
How they rotate With several layers, choose By meeting slot — one sponsor holds a whole conversation, and the next sponsor takes over after the number of slots you set — or By time, where the layer changes during the call every so many seconds. By meeting slot, one slot each, is the default, because a frame that changes while two people talk is distracting.
Virtual backgrounds Up to six images offered to attendees in the meeting room, beside blur and Moostoo's own backgrounds. Nobody is put on one — each attendee chooses theirs, or none. Use opaque 16:9 images, hosted where a browser is allowed to load them (served with CORS).
Only for online and hybrid events
An on-site event's meetings have no video room, so the meeting room settings are hidden from the session forms and the event-wide screen says nothing it holds is shown. What you saved is kept, and comes back if you change the event's format to online or hybrid.
Step by step
Brand every meeting at the event
Open the Meeting Room Branding screen: search for Meeting room in Jump to, or go to the event's App → Meeting room address.
It is not listed in the App group of the sidebar.
Click Add sponsor layer and choose a Frame image and Sponsor logo from the Media Library, then set the Badge text, Badge corner and Badge link.
Add more layers for other sponsors, in the order they should appear, and choose How they rotate.
Under Virtual backgrounds, click Add background for each image you want to offer.
Step through the layers in the Preview, then click Save.
Give one meeting block or booth its own frame
Open the meeting session in Networking → Meeting Sessions, or the booth session on the company's Meetings tab.
Expand Meeting area frame and add layers exactly as above.
As soon as a session has any layer, it replaces the event-wide branding for its meetings — sponsors are never mixed.
Save the session. To go back to the event-wide branding, remove every layer from the session.
What attendees see
In the attendee app
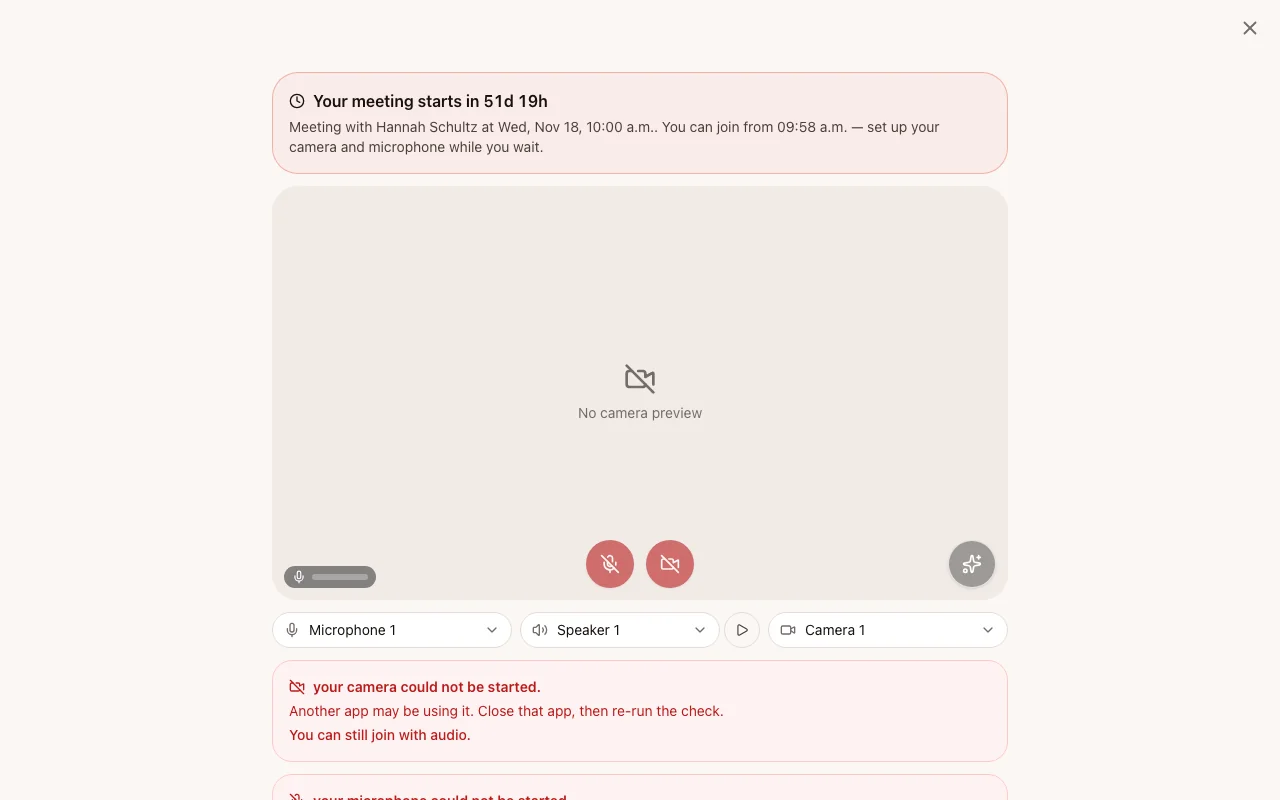
Attendees see the frame from the moment they enter the meeting's waiting room and throughout the call, with the sponsor badge in its corner. Your backgrounds appear in the Backgrounds and effects choices, after None.
Tips
- Design frames with an empty middle and artwork at the edges; the video is drawn inside.
- Sell a sponsored networking block by giving its meeting session its own frame and leaving the event-wide layer for everyone else.
- If a background you added does not appear for attendees, check it loads from another site — an image that cannot be loaded by the browser is reported by name and skipped.